Jumat, 15 Juli 2011

Mixed Bag Set # 3

MB3-banner

Mixed Bag Set # 3 contains thirteen large,unique, and colorful textures of various sizes  and colors.

Sorry for the absence, seems I was told by a friend of a site that has a tremendous amount of my texture sets available for download.  Seems they offer others works free for download, but they themselves make a profit for each download, this shit is getting old.  The reason for the absence was wondering if I wanted to keep posting or pull the plug, still haven't decided.  If I do continue, I may implement a password for downloading or some similar situation.   Any who ......... I hope this set may be of some use to you and hope you have a wonderful weekend.   Peace


Smaller examples of the textures in the zipped set:
MB3-1

MB3-2

MB3-3

MB3-4

MB3-5

MB3-6

MB3-7

MB3-8

MB3-9

MB3-10

MB3-11

MB3-12

MB3-13


Download Zipped Set Here:

Dirty Walls Texture Set

Dirty-Wall-Texture-Set-banner
Dirty Walls Texture Set contains five grunge wall textures, each texture measures 2400 X 1905 pixels in size.


 Small examples of textures in the zipped download posted below:


DW-1


DW-2


DW-3


DW-4


DW-5


Dirty Walls Texture Set Download:

Image WalkThru Process

Image-Walkthru-banner
I've had people often ask how I apply textures or what's my process when doing so.  Well, here's a walk thru, not a tutorial, to show the process I went through from the original before image to the finished after image. Hopefully this will give you some insight into my process and maybe you'll get some ideas to try yourself.
I've also included the six textures used in the process available in a zipped download if interested.


A Walk Thru Process:
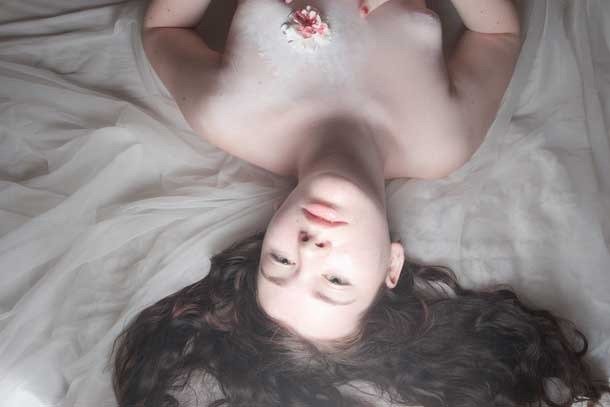
Before -Step 1
Step 1: Open image to be used, which becomes the "Background" layer.
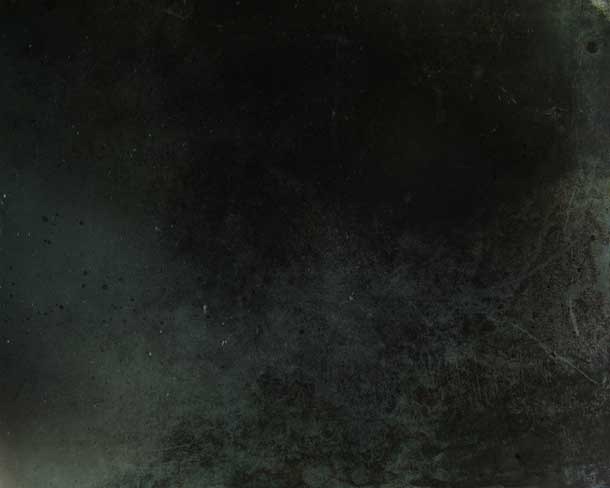

Overlay-11     Overlay 11
Step-2
Step 2: Added "Overlay 11" and drag it on top of the background layer, I then set the "Layer Mode" to "Hard Light" and the "Opacity" at 29%.
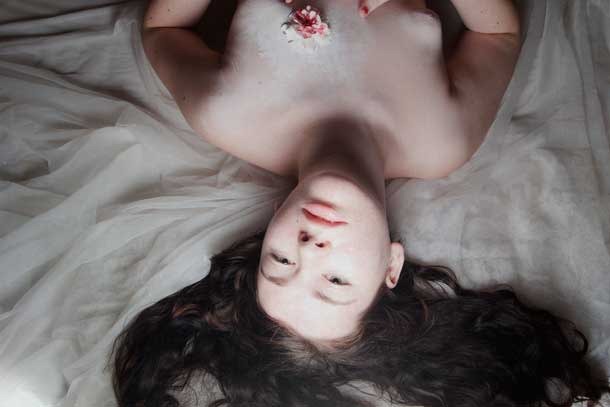


Step-3
Step 3: Made a duplicate of the background layer and set the "Layer Mode" to "Soft Light" and the "Opacity" at 100%.
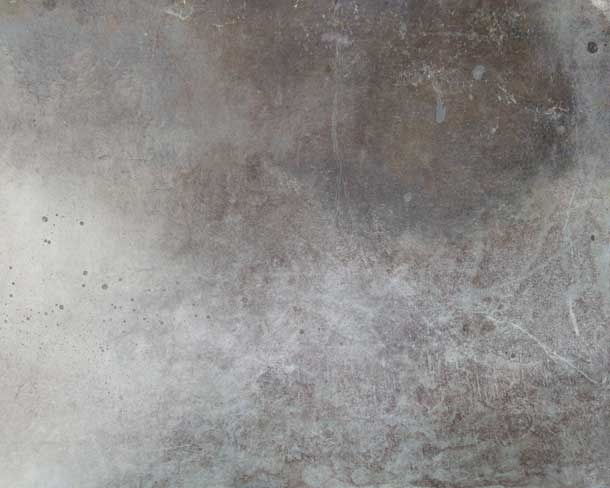

Overlay-8Overlay 8

Step-4
Step 4: Added "Overlay 8" and set the "Layer Mode" to "Multiply" and the "Opacity" at 70%.
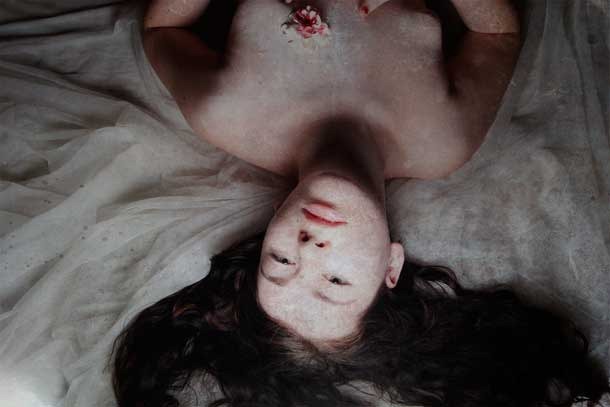


Step-5
Step 5: Made another duplicate of the background layer and set the "Layer Mode" to "Soft Light" again and the "Opacity" at 54%.
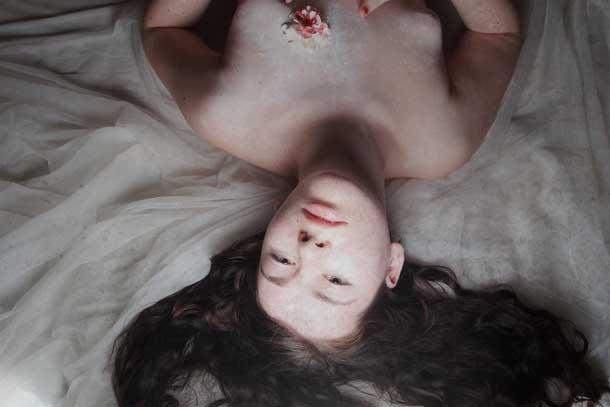

Step-6
Step 6: Again, I made another duplicate of the background layer and set the "Layer Mode" to "Lighter" and the "Opacity" at 34%.
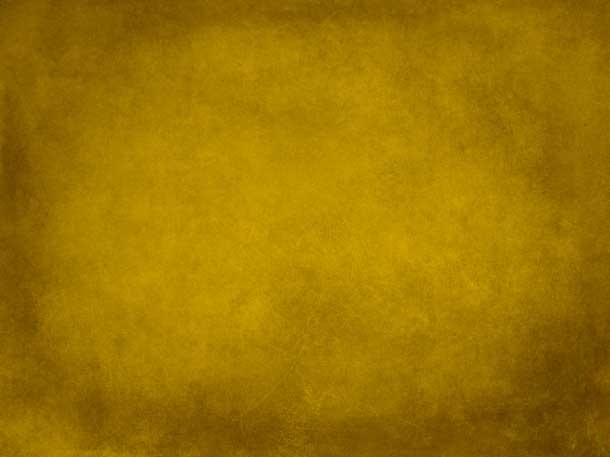

Butternut-SquashButternut Squash

Step-7
Step 7: Added "Butternut Squash" texture and set the "Layer Mode' to "Linear Burn" and the "Opacity" at 44%.
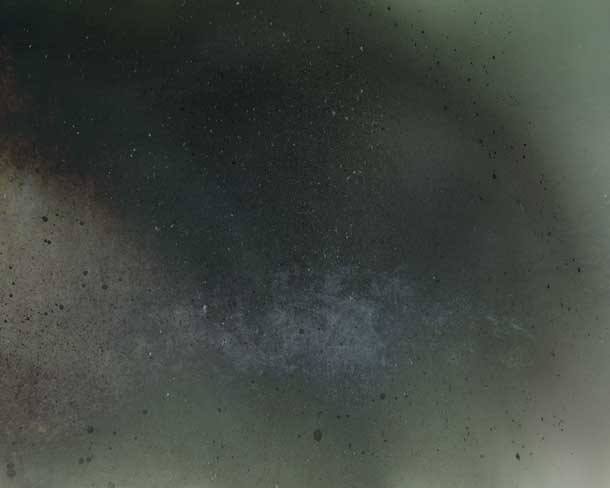

Overlay-16Overlay 16

Step-8
Step 8: Added "Overlay 16" and set the "Layer Mode" to "Soft Light" and the "Opacity" at 34%.
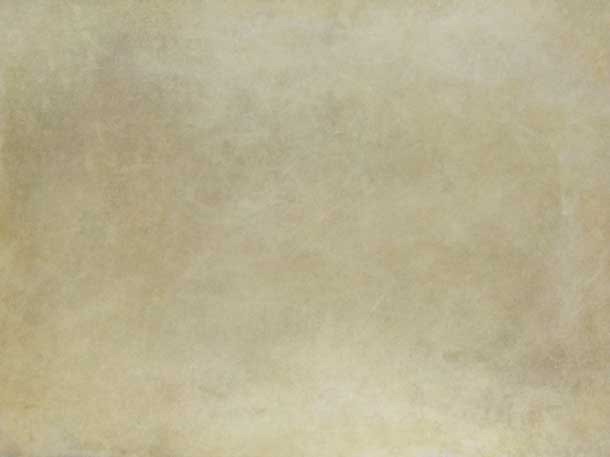


HeavensBlushHeavens Blush

Step-9
Step 9: Added "Heavens Blush" texture and set the "Layer Mode" to "Lighter Color" and the "Opacity" at 51%.
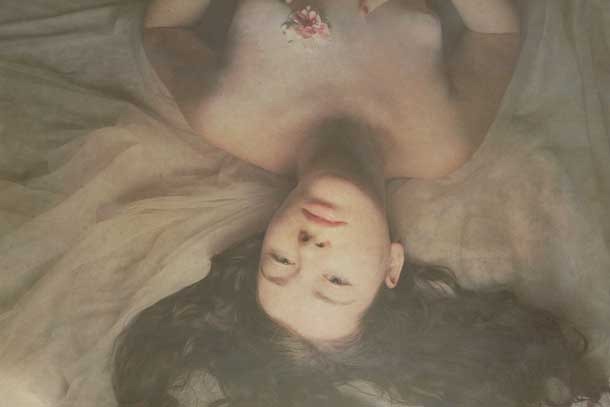

Step-10

Step 10: Made another duplicate of the background layer and set the "Layer Mode" to "Overlay" and the "Opacity" at 91%.
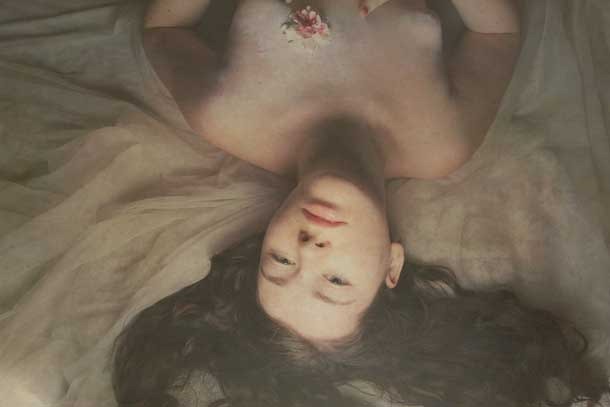

Step-11
Step 11: Again, I made another duplicate of the background layer and set the "Layer Mode" to "Multiply" and the "Opacity" at 32%.
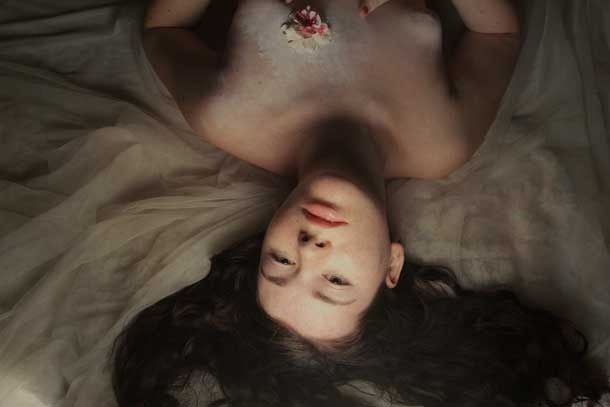

Step-12
Step 12: Yes, once more I made another duplicate of the background layer and set the "Layer Mode" to "Multiply" and the "Opacity" at 83%.    Looks good, but maybe a hint of gold tone.
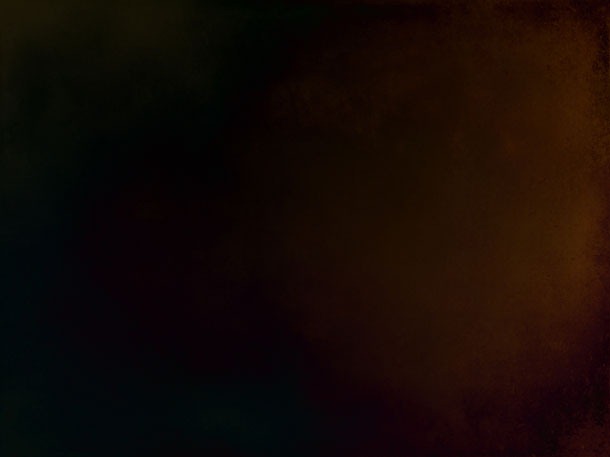

Difference-MakerDifference Maker

Step-13
Step 13: Finally, I added "Difference Maker" texture and set the "Layer Mode" to "Soft Light" and the "Opacity" at 38%.

That's it, all’s left now is to flatten the layers and save.
Hope you enjoyed!


Image Walk-Thru Texture Set Download:

Kamis, 07 Juli 2011

Deluxe Photo Frame Kit + Example

After-Image

Photo Frame Kit is a PSD file that contains:
2400 X 2400 pixels in size
1 White Frame
2 Black Frames
5 JPG Texture Layers:
Sepia Dirt
Sepia Dirt Vignette
B/W Sepia Dirt Vignette
Green Dirt
Aged FX
* Caution: Large File Download *


 Example Shown Below:

Before-Image

Before Image


Instructions:
Open Photo Frame Kit, then open an image or photo and put it on top of the JPG textures, then select which texture/textures you want to use, un check the ones you don't want to use, then adjust the layer modes and opacity levels to your liking, then select which frame you want to use, black or white.

Here's an example in which I selected (B/W Dirt Vignette - layer mode "Normal" and Opacity at 5%) also (Green Dirt - layer mode "Color Burn" and Opacity at 100%) then (Aged FX - layer mode "Hard Light" and Opacity at 53%) then (my photo - layer mode "Hard Light" and Opacity at 100%) finally I chose the White Frame - layer mode "Normal" and Opacity at 100%. That's it, flatten and save.

After-Image
After Image


Kind thanks to http://aimeestock.deviantart.com/ for the wonderful portrait.


Download zipped file here:

Rabu, 06 Juli 2011

Pastel Textures Set

PTS-banner
Pastel Textures Set contains ten colorful textures, all measuring 3400 X 2429 pixels in
size.  Thought I'd also post a quick and simple follow along showing the steps I did to achieve my outcome. 


Before
Before Image:

After
After Image:

Process:
Step 1: Open the Original photo, which becomes the background layer.

Step 2: Added the texture "Pastel 7" and set the layer mode to "Color" and the opacity at 100%.

Step 3: Made a duplicate of the background layer and set the layer mode at "Multiply" and the opacity at 53%.

Step 4: Added the texture "Pastel 6" and set the layer mode to "Linear Burn" and the opacity at 45% applied Gaussian Blur 18%.

Step 5: Added the texture "Pastel 8" and set the layer mode to "Color Burn" and the opacity at 41% applied Gaussian Blur 18%.

Flattened all layers and saved ..................done!


Small samples of textures I zipped set shown below:

P1


P2


P3


P4


P5


P6


P7


P8


P9


P10


Download Zipped Set Here: