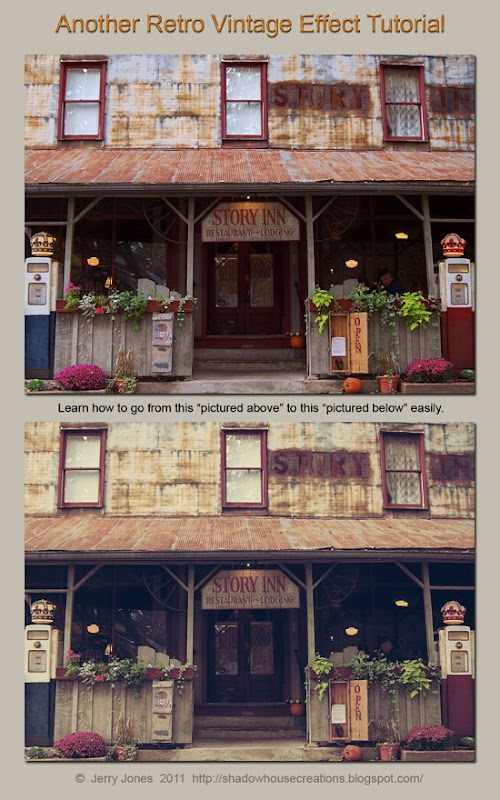
Seems like everywhere you look, there's an image with a retro/vintage look effect. There's so many ways to achieve this effect, whether it be filters, presets, actions, or textures, I'm gonna show you a simple way, which might seem long but the more you work with the tools within Photoshop such as levels, curves, photo filters among others the easier it will get, plus you may learn some new tools you've never used before.
1. Open an image in Photoshop (Background Layer)
2. Go to image / adjustments / levels / use these settings (0 - 1.20 - 255)
3. Next go to image / adjustments / curves / set a point at (74 and 50)
4. Set another point at (188 and 97)
5. Now go to image / adjustments / brightness/contrast and set brightness to (+5) and contrast to (+3)
6. Now we're gonna set 2 photo filters, go to image / adjustments / photo filter, first - color (AC7A33) density 75% then press OK. Second - color (31260C) density 60%.
7. Make a new layer and fill it with a dark blue (0C3088) set the opacity to 70%, fill at 80%, and blending mode to (lighten)
8. Make another layer and fill it with a light orange (EFD56C) set the opacity to 50%,leave the fill at 100%, and the blending mode to (multiply)
9. Next go to image / adjustments / levels / and use (26 - 1.00 and 238)
10. Now make a duplicate of the background layer then go to filter / sharpen / and click sharpen, now drag the duplicate layer to the top.
11. Last, "I heard that" go to image / adjustments / desaturate / set the opacity and layer mode to your liking, here I sat the layer mode to (normal) and the opacity to (27%)
That's it, we're done. I know this may seem a long process, but the more you work with curves and levels the easier it will get.
Tidak ada komentar:
Posting Komentar