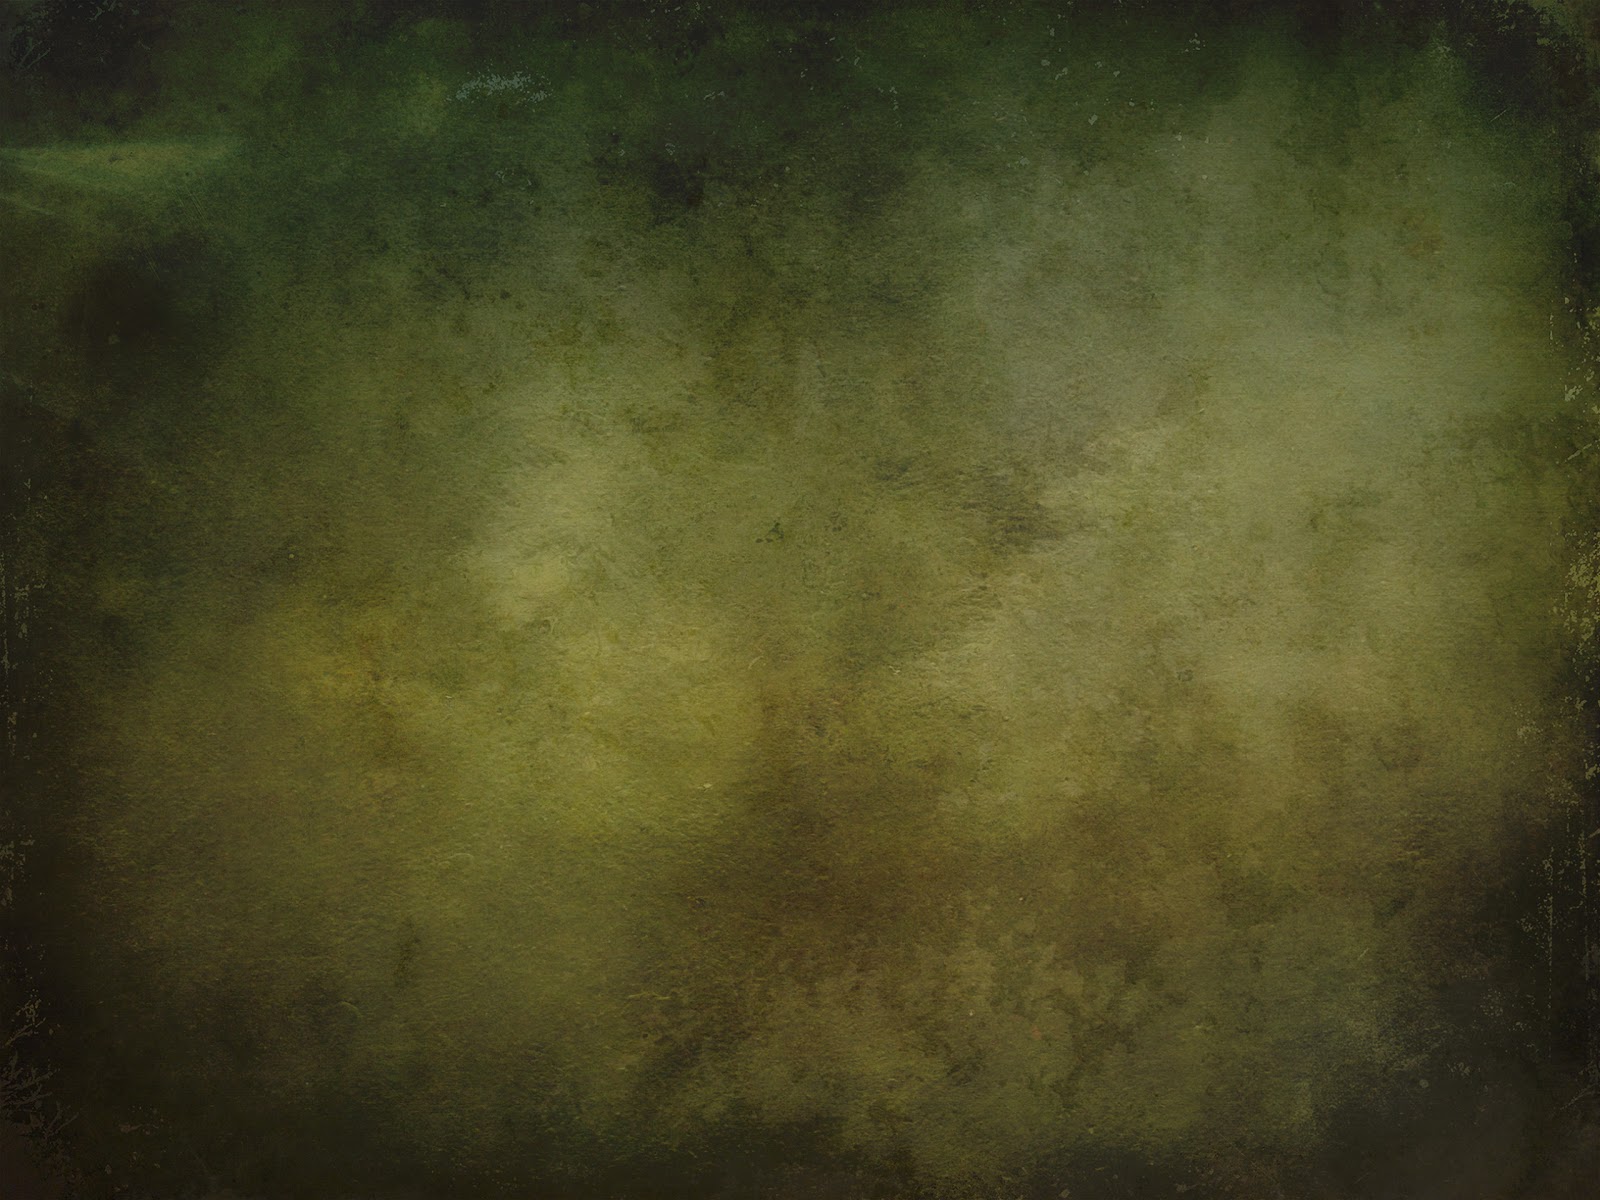
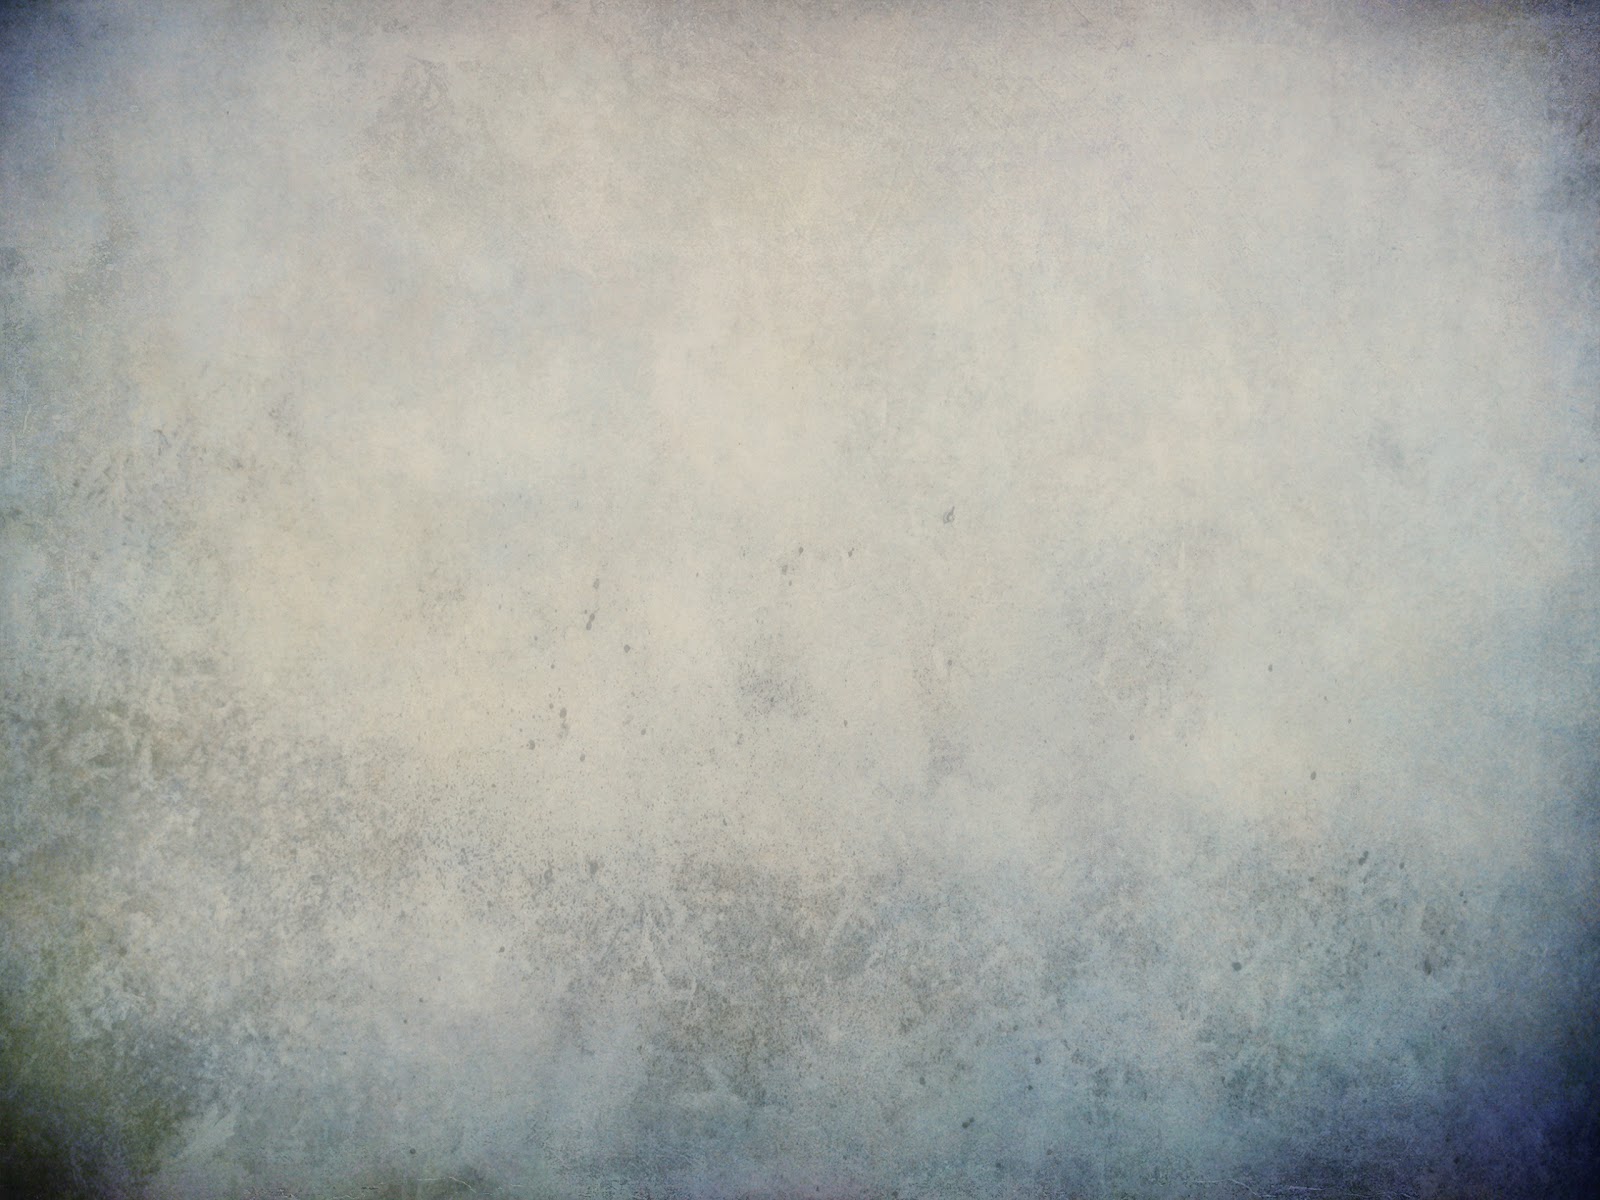
Example of Grunge Overlay 3 which can be seen below.
To apply the overlay, just open an image, then open this overlay and make sure this is the top layer, then set your layer mode to "Overlay" or you may select another mode.

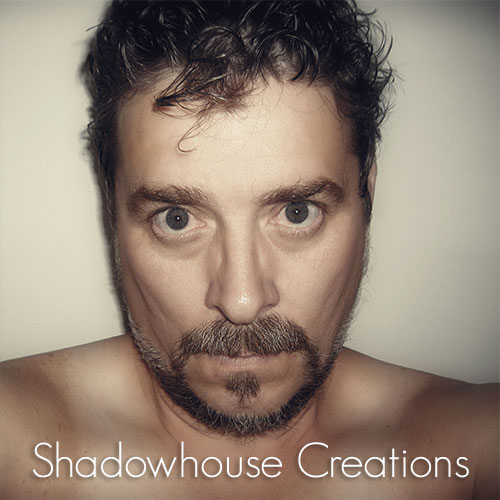 Run your mouse over the image. I've had a few people ask about how to do the mouseover, so I thought I would show you how to achieve it. 1. It's not necessary to back up your template as you aren't going to touch any part of the template HTML. 2. You need to find two images you want to use and they MUST be the same size in measurements. You also want to keep the kilobytes as low as possible so it doesn't slow down when loading.  3. You need to upload them somewhere for storage, I uploaded mine to Picasa. You will need the location of the images, meaning the URL information of both images, so you need to make note of them and save. 4. Open a NEW post. You will not be publishing this one, and will eventually delete it after first saving it as a draft. It is only to help you upload your images and get the code that is returned.  5. All that remains to do is add the javascript to"envelope" the two images, or add the pictures URLs to the Javascript, depends on how you see it. Here's the script. .......................................................... <table align="center"><tr><td align="center"> <img onmouseover="Javascript: this.firstsrc= this.getAttribute('src'); this.secondsrc= 'http://bp0.blogger.com/_fV9I2C_dAUY/R2Wrh1GGLRI/ AAAAAAAAASM/pn8sq1dh8vc/s400/tulip_pink_round_blu. gif'; this.setAttribute('src',this. secondsrc);" onmouseout="Javascript: this.setAttribute ('src',this.firstsrc);" alt="" src='http://bp2.blogger .com/_fV9I2C_dAUY/R2WrhVGGLQI/AAAAAAAAASE/ gPIt_Eq88zw/s400/tulip_purple_round_blu.gif' /> </td></tr></table> ........................................................... (Post 2nd image URL first) ( Post 1st image URL second) 6. You can copy and paste the code into the post. * The SECOND (rollover, mouseover, whatever) picture link is the first one to appear in the script; the FIRST (static) picture link is included as the second link reference - (hey, it's not me being difficult - it's the way the script works!). *You must (duhhh, obviously!) change the pic URL links in the script to the ones returned by Blogger when you upload your own pics. * It is IMPORTANT that you make sure that the quotation marks that surround the URL links are single ( ' ) and not double quotes ( " ), as this has a relevance on how the script is executed. NOTE: Do not copy and paste/edit in Microsoft "WORD" for it will add extra code. I did mine in NOTEPAD. I can honestly say, putting this one together was a chore and sucked all life out of me. I will rest now! |
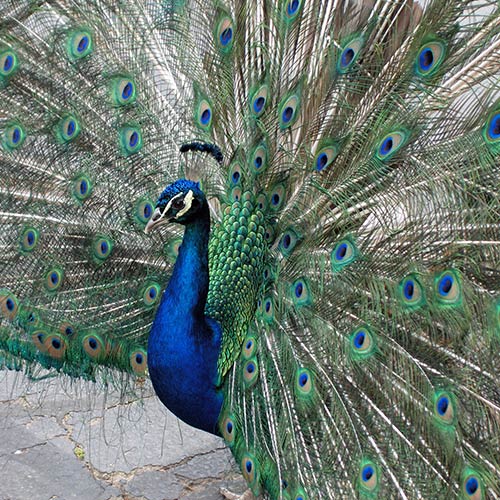 Touch image for a before and after "Mouse Over" effect. This is one of those tricks most of you already know, but for those who don't, you're gonna love it. This is a simple trick that will make those light or over saturated images pop. Let's get started. Open an image you feel needs some help. Now, duplicate your picture either by dragging it to the "Create New Layer" icon next to the trash can at the bottom of your Layers Panel or hitting "Ctrl + J" on the keyboard. Next we're gonna apply "Gaussian Blur" (Filter/Blur/Gaussian Blur) now set the "Radius" slider to 4.0. Blurry isn't it? 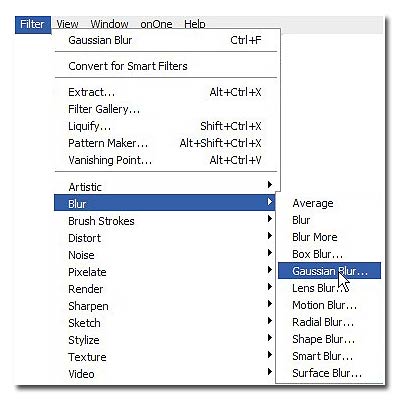 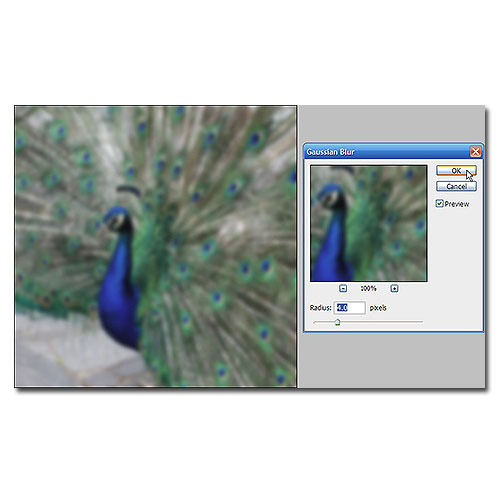 "Normal" to "Overlay." What a difference! I sometimes adjust the "Opacity" level, and as seen here I set it at 80%.  the light tones lighter and the dark tones darker while softening it. Sometimes applying a higher percentage of "Gaussian Blur" along with a higher "Overlay" percentage gives a dreamier effect. That's it, hope it was fun. |