Senin, 31 Mei 2010

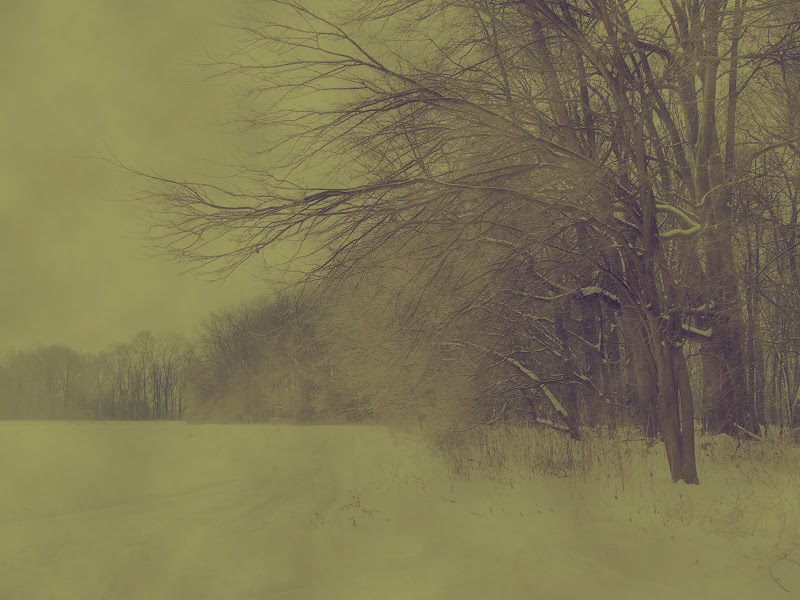
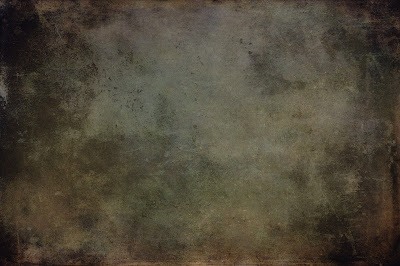
Texture of the Day "Grunge -a- Roid Texture"

Download

For those of you who like to mix things up a bit,and not be afraid
to show your dark side on occasion, well ...

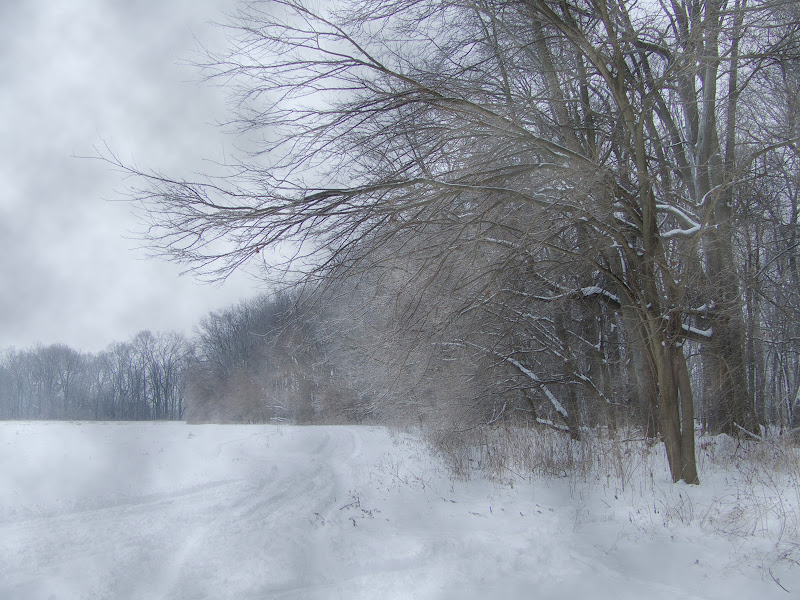
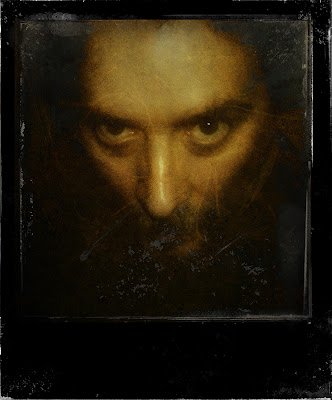
Grunge-a-Roid example:

All I did was open my spooky portrait in photoshop and set the
layer mode to "Lighten Color" at 100% opacity, then I made a
duplicate of the portrait and set the layer mode to "Multiply"
and the opacity at 67%.  Have fun and experiment.

Minggu, 30 Mei 2010

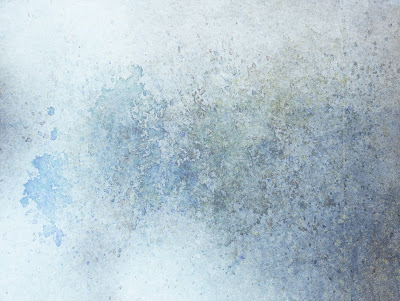
Texture of the Day "DirtyPaper # 1"

3747 X 2460 pixels 300 dpi

Download

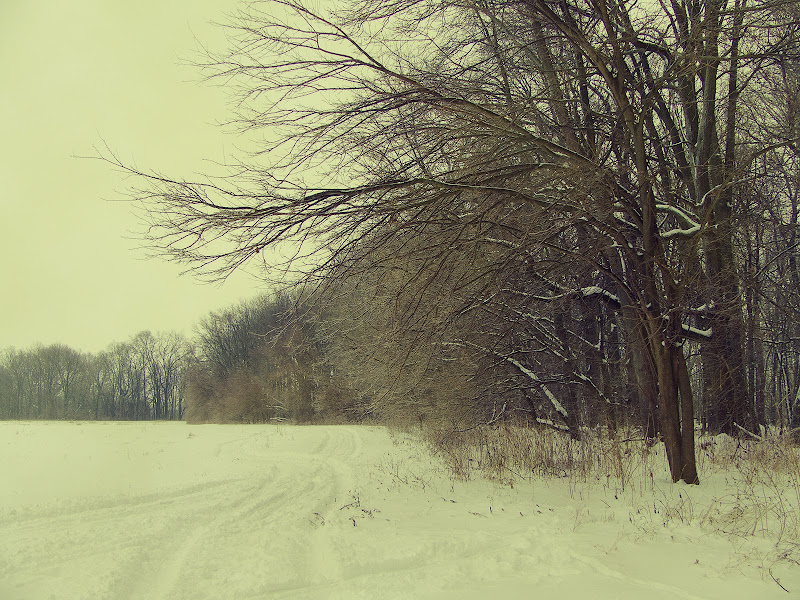
Just an example on using this texture to give an old and worn out effect.

Using the texture DirtyPaper-1 as an overlay on this image with photoshops
layer mode set at "Multiply" and the "Opacity" set at 100%.

Sabtu, 29 Mei 2010

I Melt With You


I Melt With You, originally uploaded by SkeletalMess.
Kind thanks to BMB Images for the model usage SEEN HERE in the Pimp My Pixels group. Such a fun group, and so much fun working on others photos.

Larger View

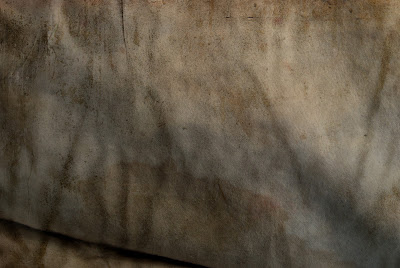
Texture of the Day " Dirty Tarp "

If By Any Chance ...


Seems I've been tinkering around with Blogger in Draft trying to get my background
fixed "stationary" which was easy on previous blogs I've had, but beings the backgrounds
are supplied with Blogger in Draft the coding is different from other experiences.

If anyone has information on how to make the background fixed in the new Blogger in
Draft layouts, I would deeply and dearly appreciate any help doing so.

My head hurts from dealing with this issue, think I'll rest now!

Kamis, 27 Mei 2010

Photoshop " Vintage Effects Tutorial "

Earlier I was going through some old photos and thought this bleached out image would be a good example to show a quick and easy way to add a vintage tone effect in photoshop.

Click on all images for larger view.
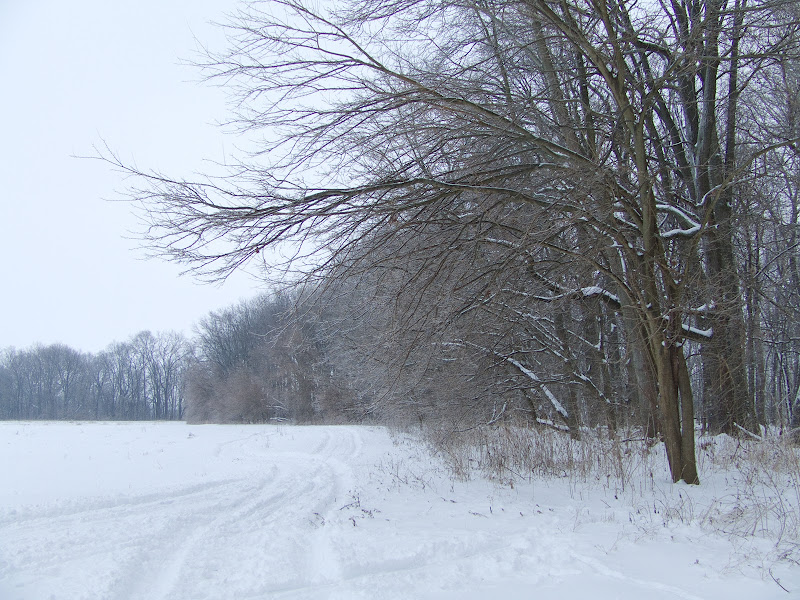
 Original Image

Step one: Open image in photoshop,which automatically becomes the background layer,now make a duplicate of the background layer.
Right click on the background layer,then click Duplicate Layer which brings up a box to name your new layer, you can name it what you want, I just leave it as background copy.  Click OK.

Step 2:  Make sure the background copy is selected, now go to Filter, select Sharpen and then click Sharpen.

Step 3:  When applying a vintage effect,Filter will be your most used tool.So lets go to Filter,click on Render, then select Clouds and set the Opacity to 25%.

Here's what it will look like, below.

Clouds Filter Added

Step 4:  Now we're going to create a new "Fill Layer" a solid color. Go to Layer - New Fill Layer - Solid Color - click OK. Choose a navy blue color 1E1565,and click OK.  Now in the layers mode box, set the mode to "Exclusion" and the Opacity at 100%.  As you can see, this makes the photo's yellow and blue colors stand out.

Here's what we got so far, below.

Blue Layer Added

Step 5:   Now lets experiment with another "New Fill Layer > Solid Color" and this time choose a yellow color E0D180, click OK. Now set the layers mode to "Overlay" and the opacity between 25 and 50 percent, I choose 50%.

Here's what it looks like, below.

Yellow Layer Added

Step 6:  Ok, one more, "New Fill Layer > Solid Color" and this time choose a brown - 5F5545, Now set the layers mode to "Multiply" and the Opacity at 50%.

Here's what it looks like, below.

Brown Layer Added

Step 7:  Now we're going to make a duplicate of the background again as in step one.  Then drag it to the top of the layers,then set the layer mode to"Overlay" and the
Opacity at 80%.  Now sharpen again as in step 2.   That's it, flatten and save.

Here's the finished image, below .......pretty neat huh!

Finished Image

Step 8:  An extra tip, to add a Glossy Effect, after flattening, make a duplicate of the background once again, "I heard that" now go to Filter/Blur/Gaussian Blur and set it at 3.0 ......blurry huh, don't worry, the next and final step will fix that.  Now set the layer mode to Overlay and the Opacity at 55%.

Here's what it looks like, below.       Big difference huh!

Glossy Effect Added

I hope you enjoyed this quick and easy tutorial,and hope it makes you want to experiment with the Filter tools and ease up on using the quick and easy actions that are available everywhere.

Texture of the Day " Remnants 1 "

Download

Thought I might start posting a single texture per day along with texture sets like I normally do.

First attempt Posting with Windows Live Writer

It seems Bloggers post editor is consistently being it’s usual self, a royal pain in the butt when trying to add images with links beneath the image precisely as I want. 

After losing patience and countless expletives, I thought I would take some advice from a previous post about Bloggers post editor, thought I would try out Windows Live Writer, after all, it couldn’t be any worse doing the job it was meant to do.  After downloading and installing, I must say it’s rather nice looking and spacious, not to mention handy being on the desktop, now to see how it performs.

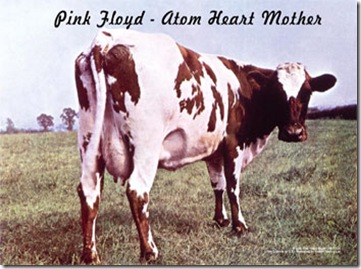
51692~Pink-Floyd-Posters


Well, after a little first time using, seems adding an image from the desktop worked out very nicely and smooth, sweet!


Seems adding an image from my Picasa storage worked pretty easily.  I’m starting to like what I see, double sweet!

BTW ….the image to the right is me playing around with an odd idea.


I’m pretty impressed with what I see so far, Live Writer seems to work rather smoothly on this first attempt at posting, not to mention first use.

Curious as to any bugs discovered by other users, and more importantly, what are the must have plug-ins I should download for use.
Before I go, lets try out a link, maybe a place really creative and inspiring, a place such as this perhaps.

Senin, 24 Mei 2010

Blogger in Draft " New Layout"

Yep, another layout change, hopefully for the better!

Well I decided to take the big leap and try out the new Blogger in Draft
feature, after backing up my previous layout for safety reasons.

I must admit, the new tool works very smooth and has a lot of new layouts
backgrounds and other eye candy.  But, yes there's always a but, the post
editor seems to be the same, and that's not a good thing, sorry to say.

If you're curious as to what Blogger in Draft is, what it can do, and whats
in store for the future, check it out Blogger in Draft.

Abstract Blue Texture Set


Rabu, 19 Mei 2010

Seven Hundred and Counting


Seven hundred and counting, I'm deeply touched and dearly appreciative.
Honestly, I enjoy creating my works and more so sharing with others, but to have a
wonderful gathering of  friends and family is a blessing.

Thanks
J.L.Jones

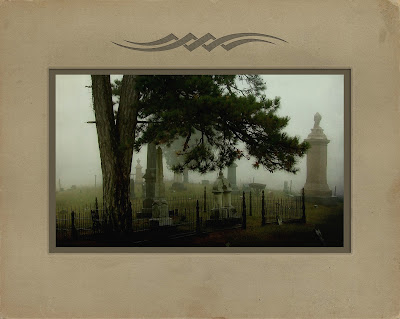
Old Frame and Mat ..."png file"

Download

Caution .... 12 MB Png. file 3351 X 2671 pixels.
Being a png file, means the image will keep it's transparency.
To add a photo, just open an image and drag it below the frame in the layers pallette.


Example of frame in use.
Click images for larger view and details.

Selasa, 18 Mei 2010

2 New Layer Masks

Mask 1 ~ Download

Mask 1 Example
Layer mode set at "Lighten" and opacity set at 100%

Mask 2 ~ Download

Mask 2 Example
Layer mode set at "Linear Dodge" and opacity set at 100%