Click on all images for larger view.
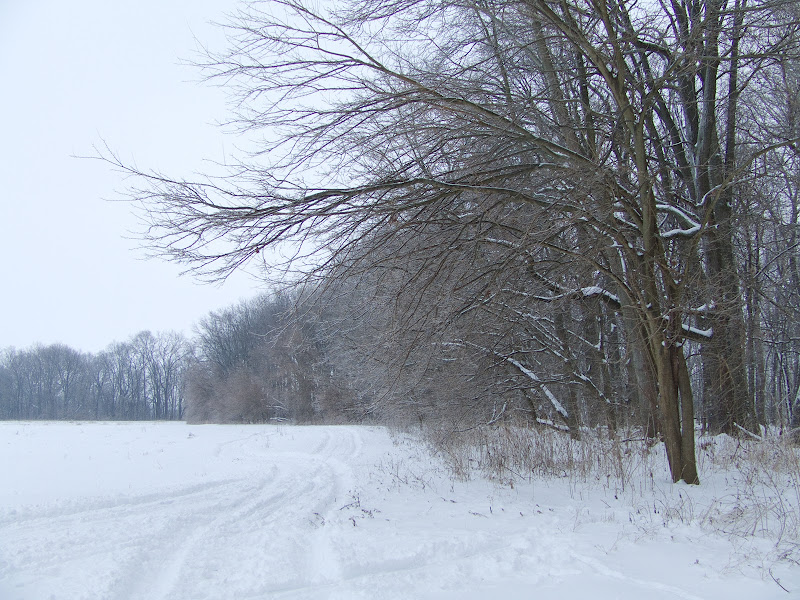
Original Image
Step one: Open image in photoshop,which automatically becomes the background layer,now make a duplicate of the background layer.
Right click on the background layer,then click Duplicate Layer which brings up a box to name your new layer, you can name it what you want, I just leave it as background copy. Click OK.
Step 2: Make sure the background copy is selected, now go to Filter, select Sharpen and then click Sharpen.
Step 3: When applying a vintage effect,Filter will be your most used tool.So lets go to Filter,click on Render, then select Clouds and set the Opacity to 25%.
Here's what it will look like, below.
Clouds Filter Added
Here's what we got so far, below.

Blue Layer Added
Step 5: Now lets experiment with another "New Fill Layer > Solid Color" and this time choose a yellow color E0D180, click OK. Now set the layers mode to "Overlay" and the opacity between 25 and 50 percent, I choose 50%.
Here's what it looks like, below.

Yellow Layer Added
Step 6: Ok, one more, "New Fill Layer > Solid Color" and this time choose a brown - 5F5545, Now set the layers mode to "Multiply" and the Opacity at 50%.
Here's what it looks like, below.

Brown Layer Added
Step 7: Now we're going to make a duplicate of the background again as in step one. Then drag it to the top of the layers,then set the layer mode to"Overlay" and the
Opacity at 80%. Now sharpen again as in step 2. That's it, flatten and save.
Here's the finished image, below .......pretty neat huh!
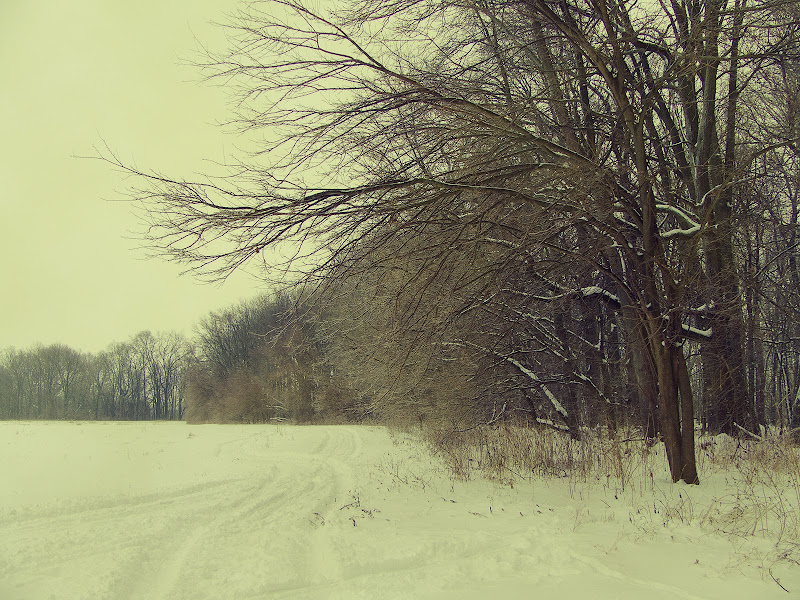
Finished Image
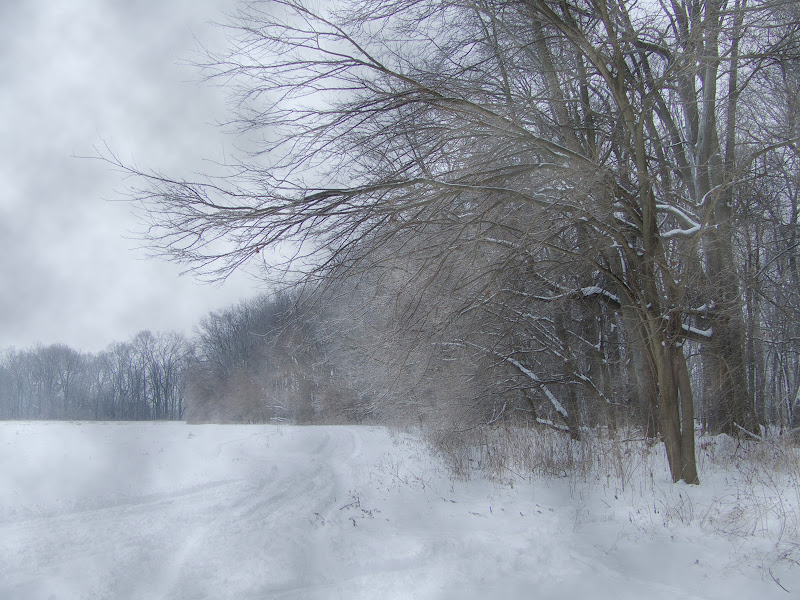
Step 8: An extra tip, to add a Glossy Effect, after flattening, make a duplicate of the background once again, "I heard that" now go to Filter/Blur/Gaussian Blur and set it at 3.0 ......blurry huh, don't worry, the next and final step will fix that. Now set the layer mode to Overlay and the Opacity at 55%.
Here's what it looks like, below. Big difference huh!

Glossy Effect Added
I hope you enjoyed this quick and easy tutorial,and hope it makes you want to experiment with the Filter tools and ease up on using the quick and easy actions that are available everywhere.
Tidak ada komentar:
Posting Komentar